Maybe you can relate: you buy a cute sweater. The one you’ve been eyeing that finally went on sale. You love your sweater – it’s so soft! So versatile! You can make it acceptable to wear every day by layering clothes and accessories! But then, just as your serious crush begins to burst into full fledged romance – IT PILLS. Your sweater betrays you by exploding into a diseased, pill-ridden mess, and you wonder what you were thinking when you took it home. “Laura,” you’re asking, “what on earth does this have to do with furniture?” I’ll tell you – that’s exactly what my table did to me.
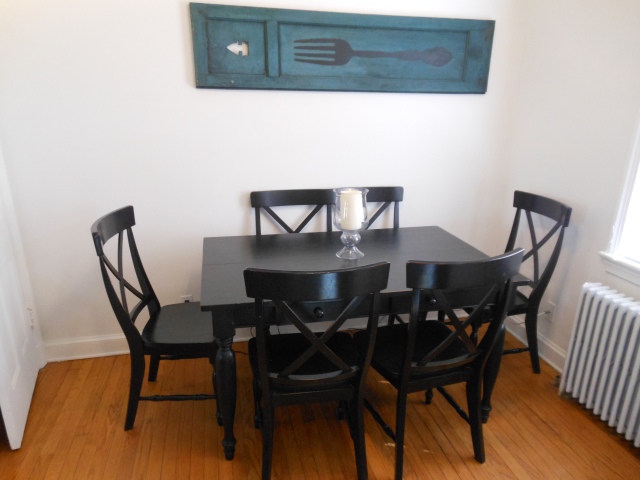
You can read about how I bargained my way to my dining set here. Things went well.. at first. Then, my table started to… change. Things just weren’t the same.
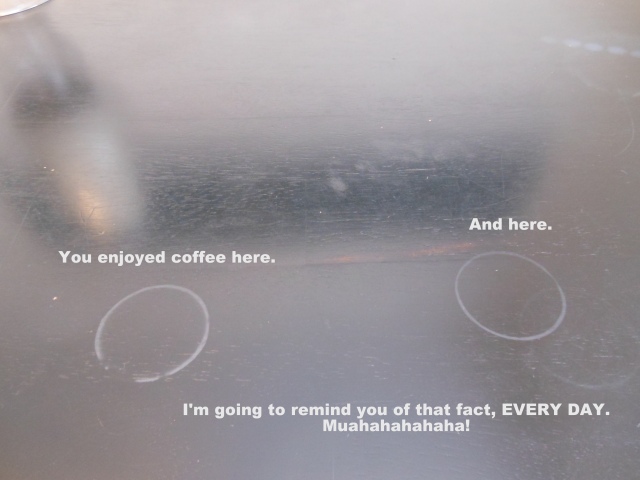
Those hot coffee cups that never used to be a problem? They started to leave a hazy ring that wouldn’t go away.
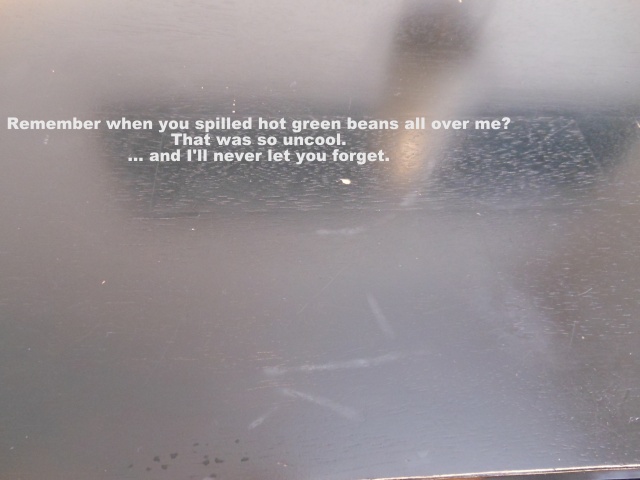
Then there was the green bean incident:
I couldn’t handle it anymore. I’d had it with my table top. So I decided it had to go: I was stripping the table top.
I was a little worried, since I wasn’t sure what the wood looked like underneath. Still, I figured it had to be better than the hazy coffee-cup-green-bean disaster.
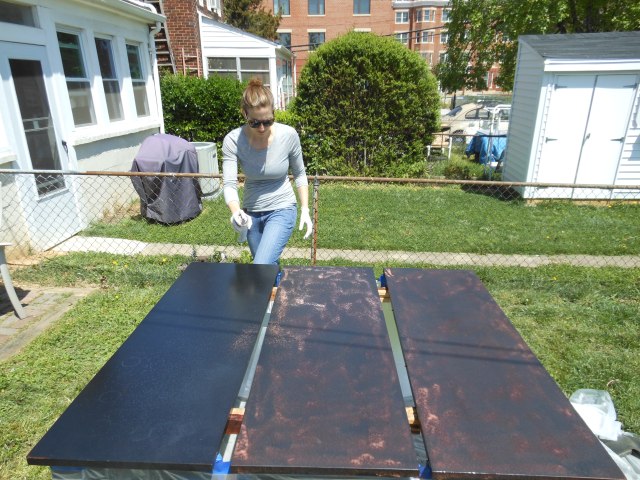
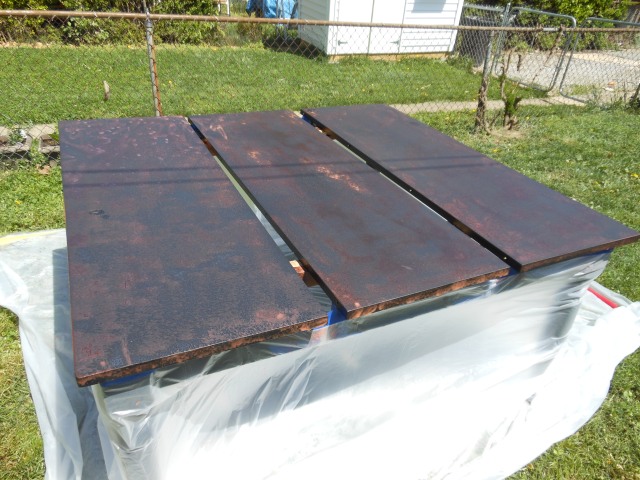
I moved the table out into my extremely small back yard (we were renting at the time), and got to work using my favorite: Citristrip.
Since I wanted to strip the top only, and leave the rest of the table black, I taped off the bottom of the table using plastic drop cloth and painters tape.
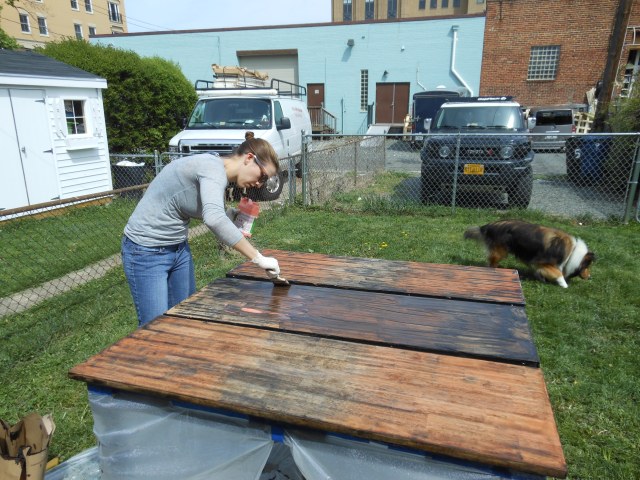
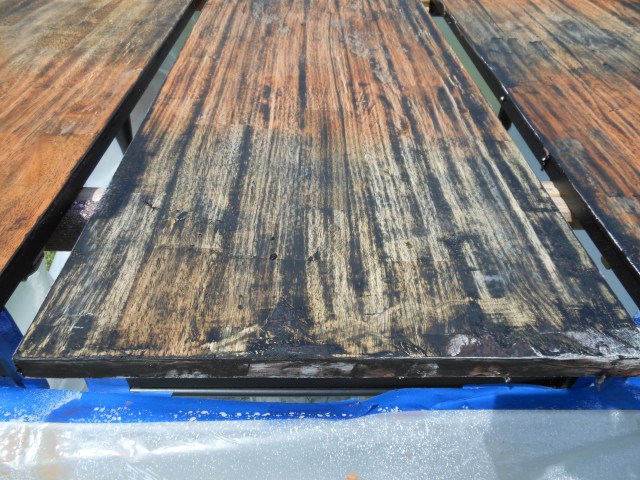
I quickly learned that using Citristrip outside was a little more challenging. The sun and breeze (even though it wasn’t really a hot day) dried out the product pretty quickly, making it really gummy. I thought water might help – that was a mistake. It just became a gummy, runny mess. I ended up having to get another bottle of stripper to rehydrate the product, and that helped. I used a metal putty knife to scrape all the paint and extra stripper off.
I put on another layer of stripper to get all the paint off. My dog, Ronan, is helpfully making sure there aren’t any small animals hiding in the lawn.
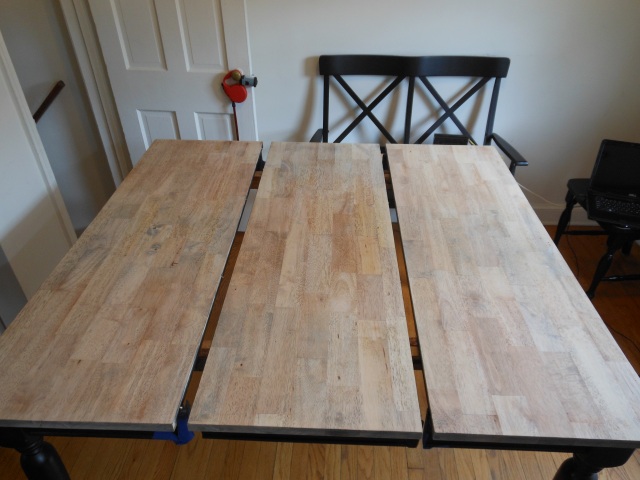
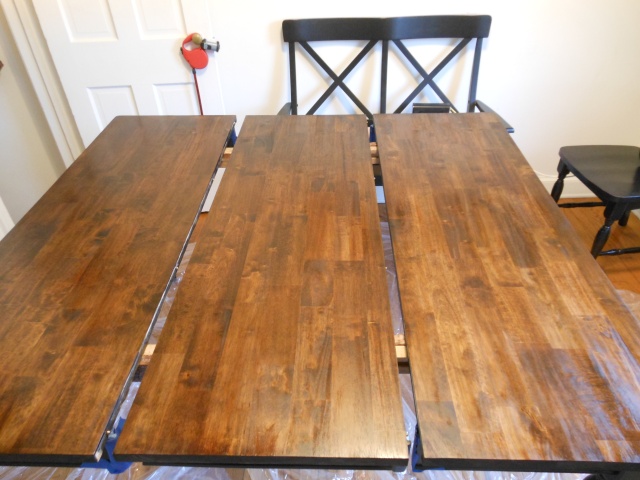
When the paint started to come off, I was SO happy to see the wood underneath had nice grain, and actually looked like butcher block! After more stripper, more scraping, mineral spirits, and sanding, I was left with this:
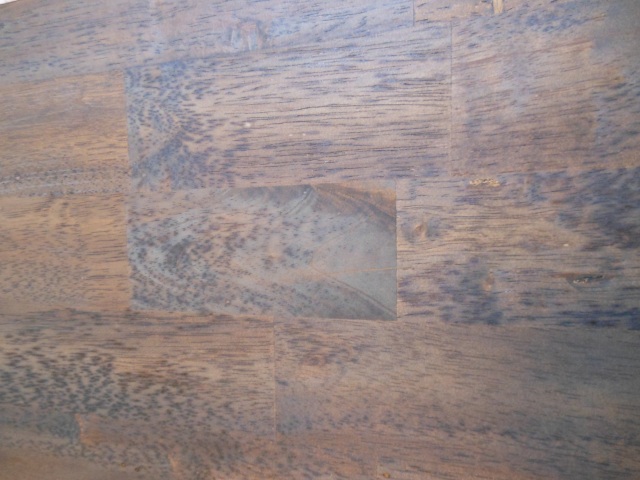
Now for the fun part: stain! I wanted a nice, rich walnut color. I applied the rich dark stain, waited…. and… wiped it off to reveal a weird, ashy, greenish tinged brown. Ugh.
Terrified, I went back to the store (3rd time in one day), and decided I needed to add stain with more golden tones to warm everything up. I anxiously applied the new stain and crossed my fingers.
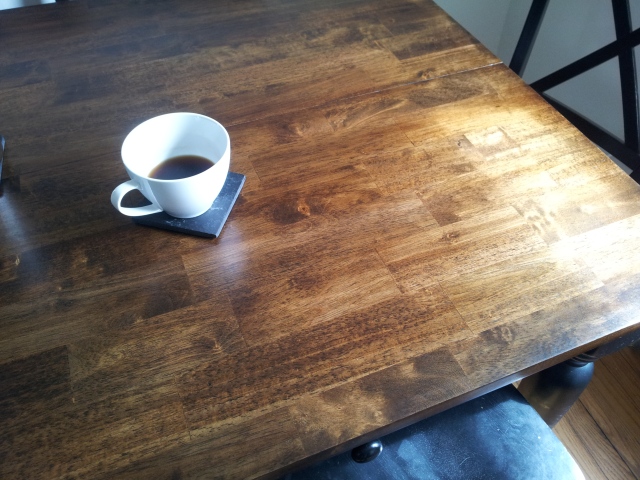
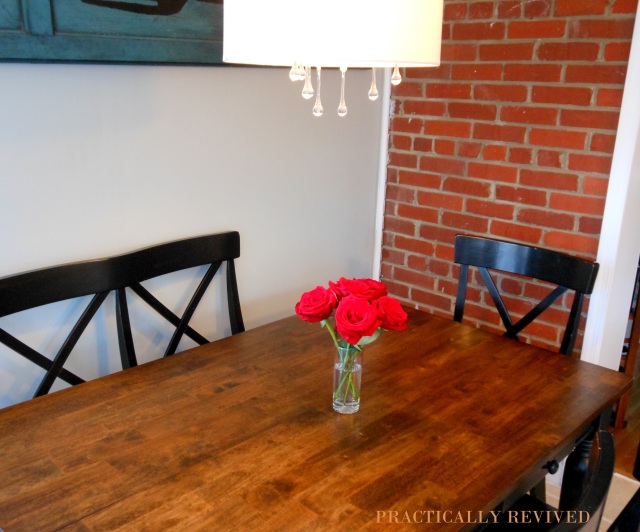
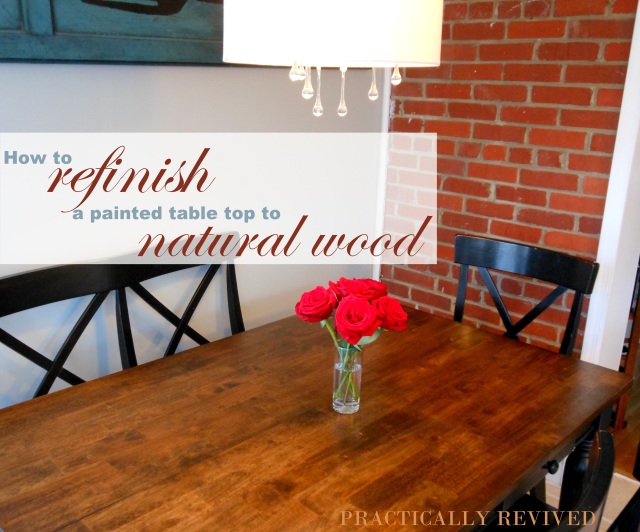
It worked – the new stain meshed perfectly with the old stain. After a few coats of poly, it was ready for all the coffee cups and green beans I could throw at it!
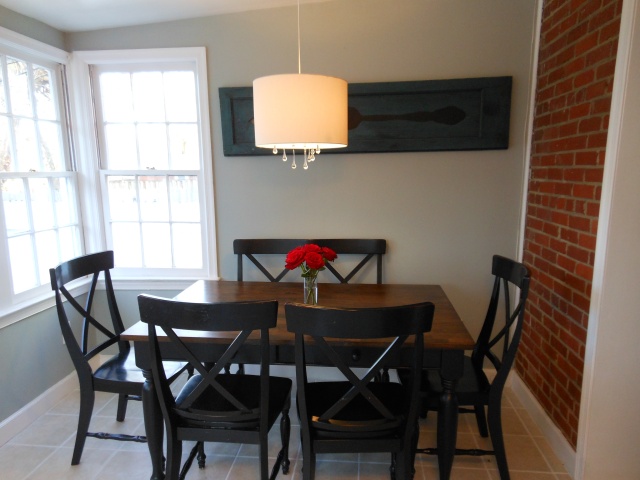
I couldn’t be happier with my refinished table top – and it’s held up really well. So, despite a rocky start, my table and I ended up happy together.
Because hot exploding green beans happen to us all,
Laura
Linking up this project with Dimples and Tangles for the March Best of the Nest party! Check out what some other fantastic bloggers are working on here.
so what do you think is the best stripper to use, after all? And which golden stain did you finally choose, it looks beautiful by the way……
Hi Susan, I do really still love Citristrip. I think since I was using it outdoors, I probably should have put on a very thick coating to begin with. I’ll continue to use it for any paint removal projects.
For the stain, I started with Minwax Dark Walnut. This gave me some great dark tones, but also that odd ashy green tint. I think it probably depends on the wood, since Dark Walnut has worked very well for me on other projects. My second stain color was Minwax Golden Oak, which really added the warm tones the table needed.
Hope that helps, and I’m glad you like it! 🙂
Really great redo! What a gorgeous table it is now: congratulations on a job very well done.
Thanks so much for the kind words!
so you did not have to sand the table at all before staining?
Hi Terry, yes, I did sand the table after stripping it. Once I got it as clean as I could with the stripper, I used mineral spirits to clean any remaining residue, and sanded it. At this point, it is recommended to use wood conditioner before staining. I didn’t do this on the table, but I was purposely looking for an uneven finish that resembled butcher block. Hope that helps!
Laura, cheers to you and your hot exploding green beans who got this party started. The table makeover came out so great! I love the stained top with the black base, and the color of the stain is sooooo pretty! Awesome job! Thanks for sharing at Best of the Nest!
Thanks so much, Lisa! I think the exploding green beans were meant to be. 🙂
What a great job you did! I have a chest that we use as a coffee table and the paint is chipping off and it appears to have a beautiful striped looking wood under. I have been pondering stripping it down (even though I’m a huge fan of painting furniture ( http://blissfullychicdiy.blogspot.com/ )). My hubby of course is very excited that I’m thinking of staining it instead of painting it. LOL. This may have given me the encouragement to give it a try! Thanks for sharing!
—
Ooh, it sounds like it could be beautiful underneath that paint! Looking forward to seeing what you do with it. Thanks for the kind comments!
Hello!
You did a wonderful job with the table and I enjoyed reading how you did it, including the chemicals etc. you used. Sometimes you have to mix the stain colours yourself to get the best result, and it is evident in your table. We tried cherry stain on our old oak floors – too red – but mixing it with golden oak stain created the perfect colour that also works with the existing trim. Thank you for the inspiration!
Thanks Paivi! You’re so right, the stain can be a bit of a guessing game. Sounds like your floors turned out beautifully. Thanks for stopping in!
You did an amazing job. I’ve read to put the citristrip on, then cover with plastic and then leave it. The plastic keeps the product moist.
I can’t believe how much better it looks with the wood top!
So gorgeous!! Way better than the painted version! 🙂
Glad you like it! I think so too 🙂
That looks great! Popping over from ‘better after’. I like it better than the painted version!
I love this! You did a great job